March 31, 2014

Popcorn Balls


These are one of my kids favorite snacks!  They resemble rice krispy treats but I feel a they are a little healthier with the popcorn, cheerios and nuts.  I do have to omit the nuts if my kids are taking them to school for lunch/snack because of nut allergies.  But they turn out yummy either way.  You can easily add or subtract ingredients depending on everyone's tastes, just keep the proportions about the same.  I added M&Ms, sprinkles & animal crackers for the take-home favors for Ashley's Animal birthday party.  They were a huge hit!

Kid's Favorite Popcorn Balls
1 package regular sized plain microwave popcorn
2 Tablespoons butter
2 1/4 cups mini marshmallows
2 cup cheerios cereal
1 ounce (or small handful) pretzel sticks, broken into pieces
1/4 cup peanuts

Directions:

1. Microwave popcorn according to package directions.  Pour popcorn into a bowl removing any un-popped kernels. Set aside.
2. Melt butter in a large pan.  Add marshmallows and stir for 2 minutes or until marshmallows melt.  Remove from heat.  
3. Add 4 cups popcorn and remaining ingredients.  Stir until fully coated.  
4. Cool for 2 minutes then form into 12 large or 24 mini balls.  Cool 5 more minutes.


The Pet Treat popcorn balls above are the take-home favors from the Animal Birthday Party.  You can add the animal crackers when you add the popcorn and cheerios.  If you want M&Ms, wait until after the initial 2 minutes of cooling or the coating will melt into the marshmallow turning it into a rainbow of colors.  Also, if adding sprinkles, wait until after forming the balls or they will disappear.


March 28, 2014

Friday I'm in Love

Hey friends! The weekend is here again at last! Last weekend we did an indoor climbing competition and had a great time, and this weekend, we're headed outside to climb in the Frankenjura. The temps are supposed to be perfect! Can't wait.

Today we had a Women's Empowerment conference with some big wigs in the German political world and US Army and a luncheon afterwards. It was pretty awesome and inspiring, and refreshing I must say. We read the book "Lean In" by Sheryl Sandberg (watch the TED talk here) to discuss leadership topics regarding women at the luncheon. Have you all heard about the Ban Bossy campaign? The theme of the campaign is "When a little boy asserts himself, he's called a “leader.” Yet when a little girl does the same, she risks being branded “bossy.” Words like bossy send a message: don't raise your hand or speak up. By middle school, girls are less interested in leading than boys—a trend that continues into adulthood. Together we can encourage girls to lead".

Made me really think hard about my role in the male dominated workforce. How we really do need to change the way we raise our children/teach our children to start eliminating the gap. My kids aren't bossy. They are leaders.  We (my three sisters and I) fortunately were raised to be leaders and to go after anything we dreamed we wanted to do. I've never been able to keep my mouth shut at a meeting and have been labeled as bossy too. But hey, its a good thing to be the boss and I'm feeling more proud of my accomplishments after today's discussions. If you haven't checked out the Ted talk (part 2), men and women, I highly recommend you check it out. And the book.  If you have, what did you think?

Also, some more links for you to enjoy:

Have you heard about this crazy speed reading app?
A powerful short movie about foster parenting I highly recommend. Had me in tears.
I want to make these crepes this weekend! 
Some fun ideas for Spring.
Classic MMM post on being successful.

March 27, 2014

Amazing Places - Bruges, Belgium

Bruges at Night
If you are ever visiting Belgium, you must visit Bruges. Definitely the most charming of all the cities in the country, and so nice to walk around in and relax. Its very much like a small Venice, with channels and bridges everywhere (thus the name Bruges). It is only about 2 hours west of Brussels and once you get there, you do not need a car. Its a very pedestrian friendly city with cobblestone narrow streets, horse and carriage rides, and boat rides on the channels (highly recommended). The shops sell lace, teapots, chocolate and other wonderful gifts you'll enjoy.
Charming Bruges
I just loved all the bridges!
 
Blue shutters and round windows make me happy. 
This Labrador is quite the famous dog. I think every tourist takes a picture of him while riding along the canal.

We stayed at the best B&B ever, called Number 11. The house is right near the down town and beautifully decorated. The owner Annie (it has since been sold I noticed to new owners) was so nice to us and made the best breakfasts.  Ralph Fiennes and Colin Farrell  spent a few weeks in the place filming the moving In Bruges we found out when we stayed! I understood why they chose the place for sure. Bruges has plenty to offer for a long weekend including museums, a nice brewery (de Halve Mann), towers, canal rides, horse and carriage rides, and beautiful gardens.
B&B Number 11

Don't you just love claw foot bathtubs?

A view of the common room. Love the floors! They were all made from reclaimed wood.
Our room number painted on the door.

How about you all? Have you been to Bruges? If so, what did you think? Did you stay at a B&B or a hotel? I tend to scour Trip Advisor for the best reviews, and stay at the highest ranked placed that meets all our other needs (price, amenities, location, etc). Sometimes we end up in hotels, other times vacation rentals, and once in a while Bed and Breakfasts. This Bed and Breakfast I must say was exceptional, and I'd definitely return.

March 26, 2014

The best part of spring.

We flew kites this weekend and I'd forgotten just how much fun it is! Cooper ran as fast as he could and actually got the hang of it!  Shame on me though, no pictures from our outing. I like the good ol plain diamond shaped kites the best. They simply seem to fly the best. We tried our hand at a fancy schmancy one shaped a bit like a pentagon, but it kept wanting to nose dive and apparently needed a stronger, steadier wind. Highly recommend kite flying for a family picnic or park day :)
Source


PS. While perusing Pinterest yesterday, I saw the cutest fabric covered vases posted on I heart Nap Time and had to make a few myself! I am quite pleased and Cooper had so much fun painting and gluing them with me.  Although, I accidentally put the fabric the wrong direction for the green one...


March 25, 2014

Animal Masks Tutorial


Two weeks before my daughter’s birthday party, we were trying to come up with a theme.  She knew immediately that she wanted to do something with animals.  And so the Animal Party plan was hatched.  For an activity I thought it would be cute for the girls to craft & decorate their own pet mask.  I set out in search of decent animal masks that would stand up to kid wear and tear.  All I came up with were the flimsy foam masks with a thin elastic strap that always seems to stretch out after 2 days.  Not to mention, it is impossible to find masks of one animal type.  My daughter wanted pet animals; dogs, cats or bunnies.  There were none to be found and I was starting to worry because shipping time was running out.  At this point I was prepared to call it a ‘no-go’, but then I had the idea to make the masks myself from craft store materials and some of the scrapbooking paper I already had on hand.  In hindsight, I am glad I put in the extra effort because they were the hit of the party! 


Mask Directions

1.  I used foam only for the face part of the masks.  It was just easier, although I like the pattern of the scrapbooking paper.  Trying to cut out the eyes was so hard with the paper and it kept ripping.


2. I found a cat face pattern online and printed it out.  Cut out the face, then the ears separately.  For the dog, I used the cat face but printed out a dog face and cut out its ears.  Carefully snip the eyes out of the face.  Next, trace the face pattern and eye holes onto the foam and cut it out.

3. For the eyes on the foam, I used a small kitchen knife to punch a narrow hole in the center of the eye.  Use small sharp scissors like for needlework or sewing to cut out the eyes.

4. For the ears, glue card stock onto a foam sheet using foam glue.  The best way to apply the glue is with a paintbrush.  It makes the glue even over the foam and when you cut the paper & foam it keeps a tighter seals and is less likely to rip.  Allow it to dry overnight.

5. Using the paper ear patterns, trace them onto your foam paper with a pencil.  Carefully & slowly cut out the pattern.  I had problems with the thinner scrapbooking paper ripping as I was cutting it, especially in the tight corners and rounded edges.  If this happens, use a small watercolor paintbrush and paint a little glue onto the rip to hold it in place.

6. Cut the noses out of scrapbooking paper or card stock.


7. Before gluing the ears and nose, cut or punch a small hole in the side of the mask just opposite the eye holes for the ribbon tie.  I used a small hole punch for this or a kitchen knife would work. 

Measure the length of ribbon needed to go halfway around the head plus room for a tie.  My ribbons were 15 inches long and were big enough to be worn by 8 year olds.  You will need two ribbons for each mask.  Feed the ribbons through the holes or slits using a toothpick.  Tie a knot in the ribbon securing it to the mask.

8. Glue the noses and ears on the foam masks.  Weight down the mask with a book to keep the ears & noses flush.  Allow to dry overnight.


Now your masks are ready to decorate.  You can use gems, sparkles, stickers, buttons, ribbons, etc.  Have fun!


March 24, 2014

Cupcake Brookies


After a request for Brookies from my daughter for her birthday, I went in search of a good recipe.  There are a lot out there from very basic, using premade cookie dough and a brownie mix to recipes totally from scratch.  I settled on a recipe from My Recipe Magic and then turned it into cupcake form.  I did, however, use the Toll House cookie recipe instead of the one from Recipe Magic.  Because it is a larger recipe, I had some cookie batter left over which I refrigerated and made into cookies a couple of days later. The recipe is pretty straightforward but requires a bit of time.  The key is to chill both parts, the cookie and the brownie batter separately.  This allows the cupcakes to cook evenly.
 Brookies
Cookie Recipe:
2 1/4 cups all-purpose flour
1 teaspoon baking soda
1 teaspoon salt
2 sticks (1 cup) butter, softened
3/4 cup sugar
3/4 cup brown sugar
1 teaspoon vanilla
2 eggs
2 cups (12 ounces) semi-sweet chocolate morsels
1 cup chopped nuts (optional)
 
Combine flour, backing soda & salt in a small bowl.  In a mixing bowl, cream together the softened butter with the white & brown sugar and vanilla until creamy.  Add eggs one at a time.  Gradually beat in the flour mixture by 1 cups additions until fully incorporated.  Gently stir in the morsels and nuts, if using.  Cover the bowl and refrigerate for at least 3 hours.
Proceed to the brownie recipe.
Brownie Recipe:
1/2 cup unsalted butter, cut into 1-inch cubes
3/4 cup all-purpose flour
1 Tablespoon dark chocolate cocoa powder
1/2 teaspoon salt
5 ounces dark chocolate, coarsely chopped
3/4 cup sugar
1/4 cup brown sugar
3 eggs, room temperature
1 teaspoon vanilla extract
 
Add flour, salt and cocoa powder to a medium bowl, whisking to combine. Set aside.
In a double boiler, bring 2-3 inches of water to a steady simmer.  In the top pan, add butter and chocolate, stirring until melted and combined. Turn off the heat. Whisk white sugar and light brown sugar into the chocolate mixture. Remove the pot from the heat and separate the top pot, allowing the chocolate mixture to cool to room temperature. 
Add eggs to the chocolate mixture, whisking until just combined.  Using a spatula,
add vanilla and stir until just combined. Gently fold flour mixture into the chocolate mixture until just incorporated.  ** You want to avoid adding extra air to the batter, so use the spatula carefully.
Pour the brownie batter into greased muffin tins (or use the cupcake liners) and transfer to the refrigerator.  Chill for at least 1 hour. 
Brookie Assembly:
After chilling, preheat the oven to 375 degrees.  Remove the muffin tin from the refrigerator.  Using a small spoon, scoop out a small amount of cookie dough.  Roll a ball in your hands and flatten it out into a disk shape.  Gently press a disk into the center of each brownie batter cup.  Bake for about 18-20 minutes or until the outside edge is a bit brown & the cookie center is set.  Use a toothpick to test the center.
These are delicious served warm with a scoop of vanilla ice cream on the side.  Yummy!
 

March 21, 2014

Ashley's Animal Paw-ty


Ashley's 8th Birthday

Ashley created her own birthday party theme this year and did an awesome job tailoring all her 'favorite things' into parts of the party;  stuffed animals, party games, dress-up, music, tents, outdoor play & swinging.  We made a cat silhouette party sign to greet everyone at the front door.

She started with the animal theme and then created her own invitations.  The first draft of the invitations was adorable but she didn't want to color that many cards.  So I bought card stock and she folded the cards.  We stamped the inside 'Who, What, When & Where' info and then filled in the rest.  For decorations, she trimmed the front edge with ruffle edge craft scissors and added animal stickers.  Voila!


Our first activity was to let all the girls decorate their own Animal Mask (tutorial).  We had cat & dog faces to choose from.  The girls chose sparkles, bows, stickers, buttons & glitter jewels to adorn their masks.


After everyone finished their masks we had lunch.  This was a little more of Ashley's 'favorite things'.  The menu included mini ham & cheese sandwiches, mini PB&J sandwiches, cheese cubes, a fruit platter, goldfish crackers, pretzel sticks & animal crackers.  Yum!

Ashley was so excited to have strawberry lemonade, which is a huge sign of spring for her.  I added the little peeps on a straw for a fun 'animal' twist.  They turned out pretty cute but were really sticky as I pushed them onto the straws.  Once there was lemonade in the glasses though the sticky sugar melted away.

After eating, it was on to the party games.  Games are a must for Ashley at any party or gathering!  We have done piƱatas at Easter, pin-the-nose on Santa, & pin-the-smile on the sun, just to name a few.  Every person who celebrates a birthday at our house has played 'pin-the-tail on something'.  So, for her birthday we played Pin-the-Tail on the bunny, along with musical chairs and 'hot potato-honey badger' using a stuffed honey badger.  I didn't get any good pictures of the games because I was the game DJ.  I downloaded iTunes music from some of Ashley's favorite movies to use for the musical chairs & hot potato games.


The funny thing was, the girls were so excited that they blew through all the organized activities in about the first hour and a half of a four hour party.  This turned out not to be a problem at all because of the beautiful weather and 6 little girls with boundless imaginations.  They took to the sunny backyard with blankets, tents, dolls, costumes & stuffed animals.  They only took a break when Ashley remembered the Cupcakes Brookies, & ice cream. 
   

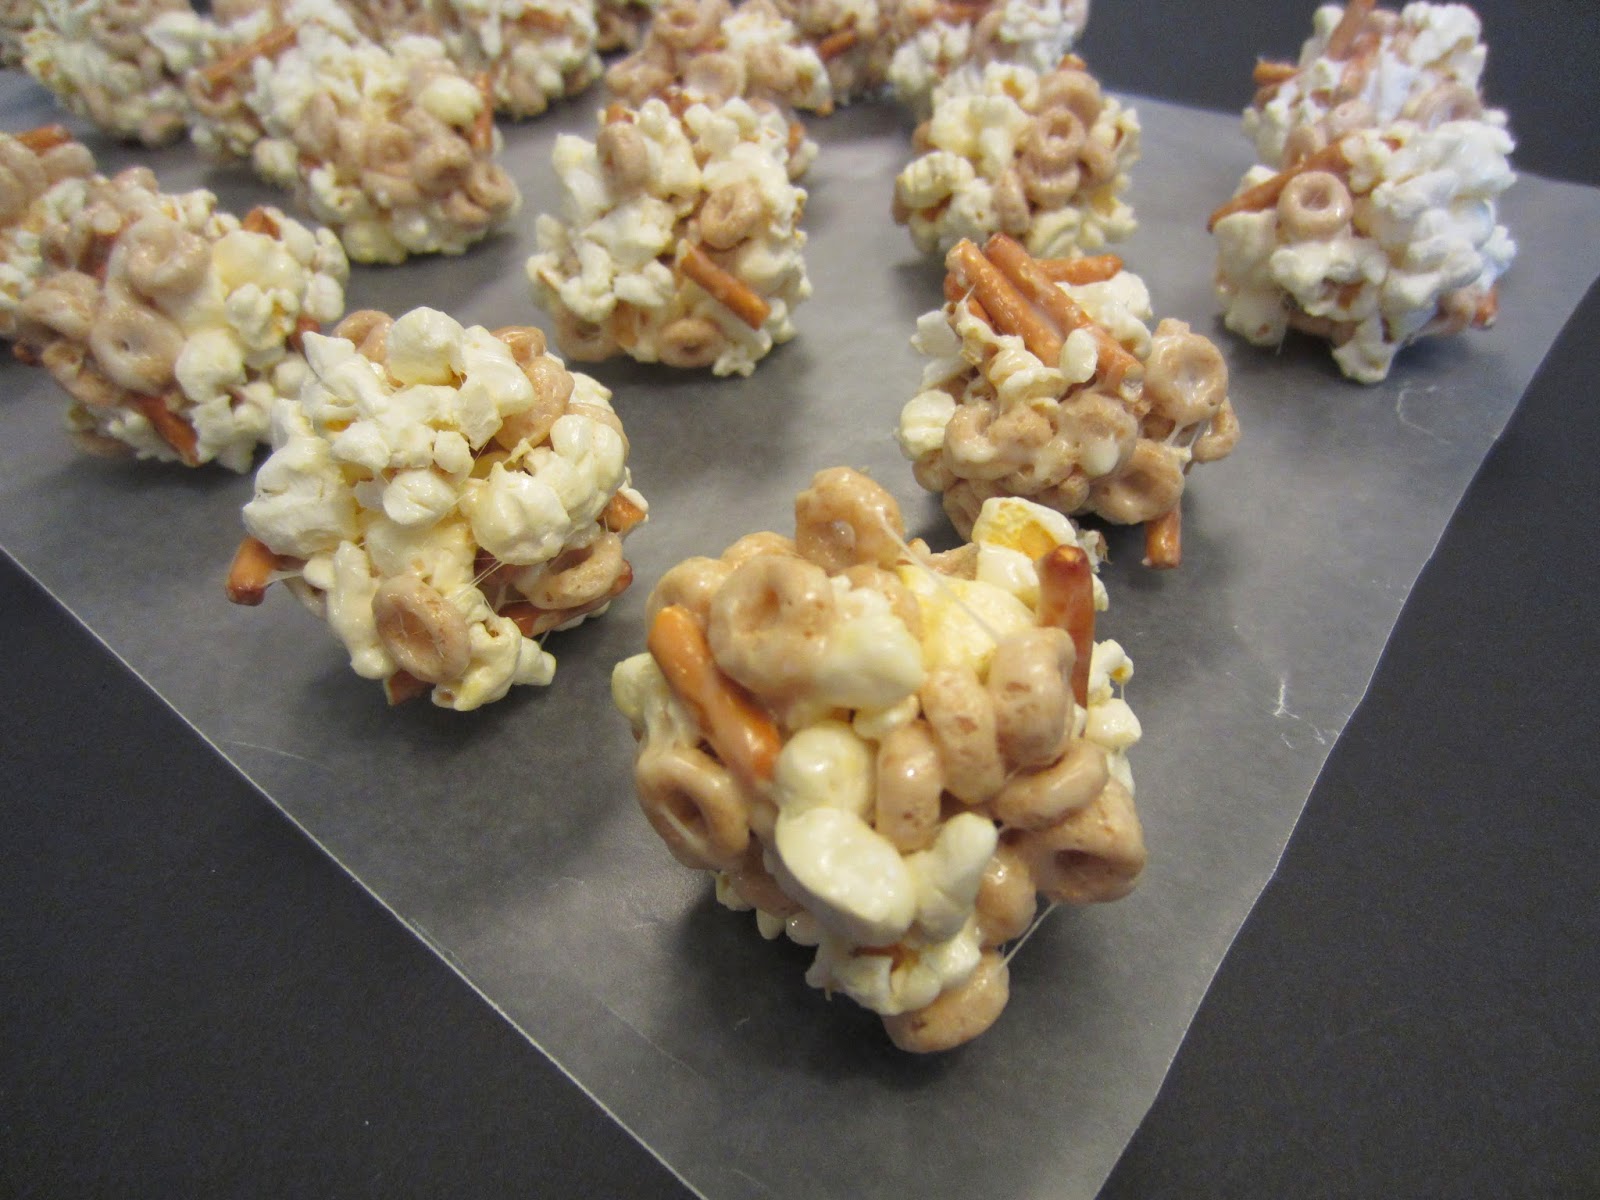
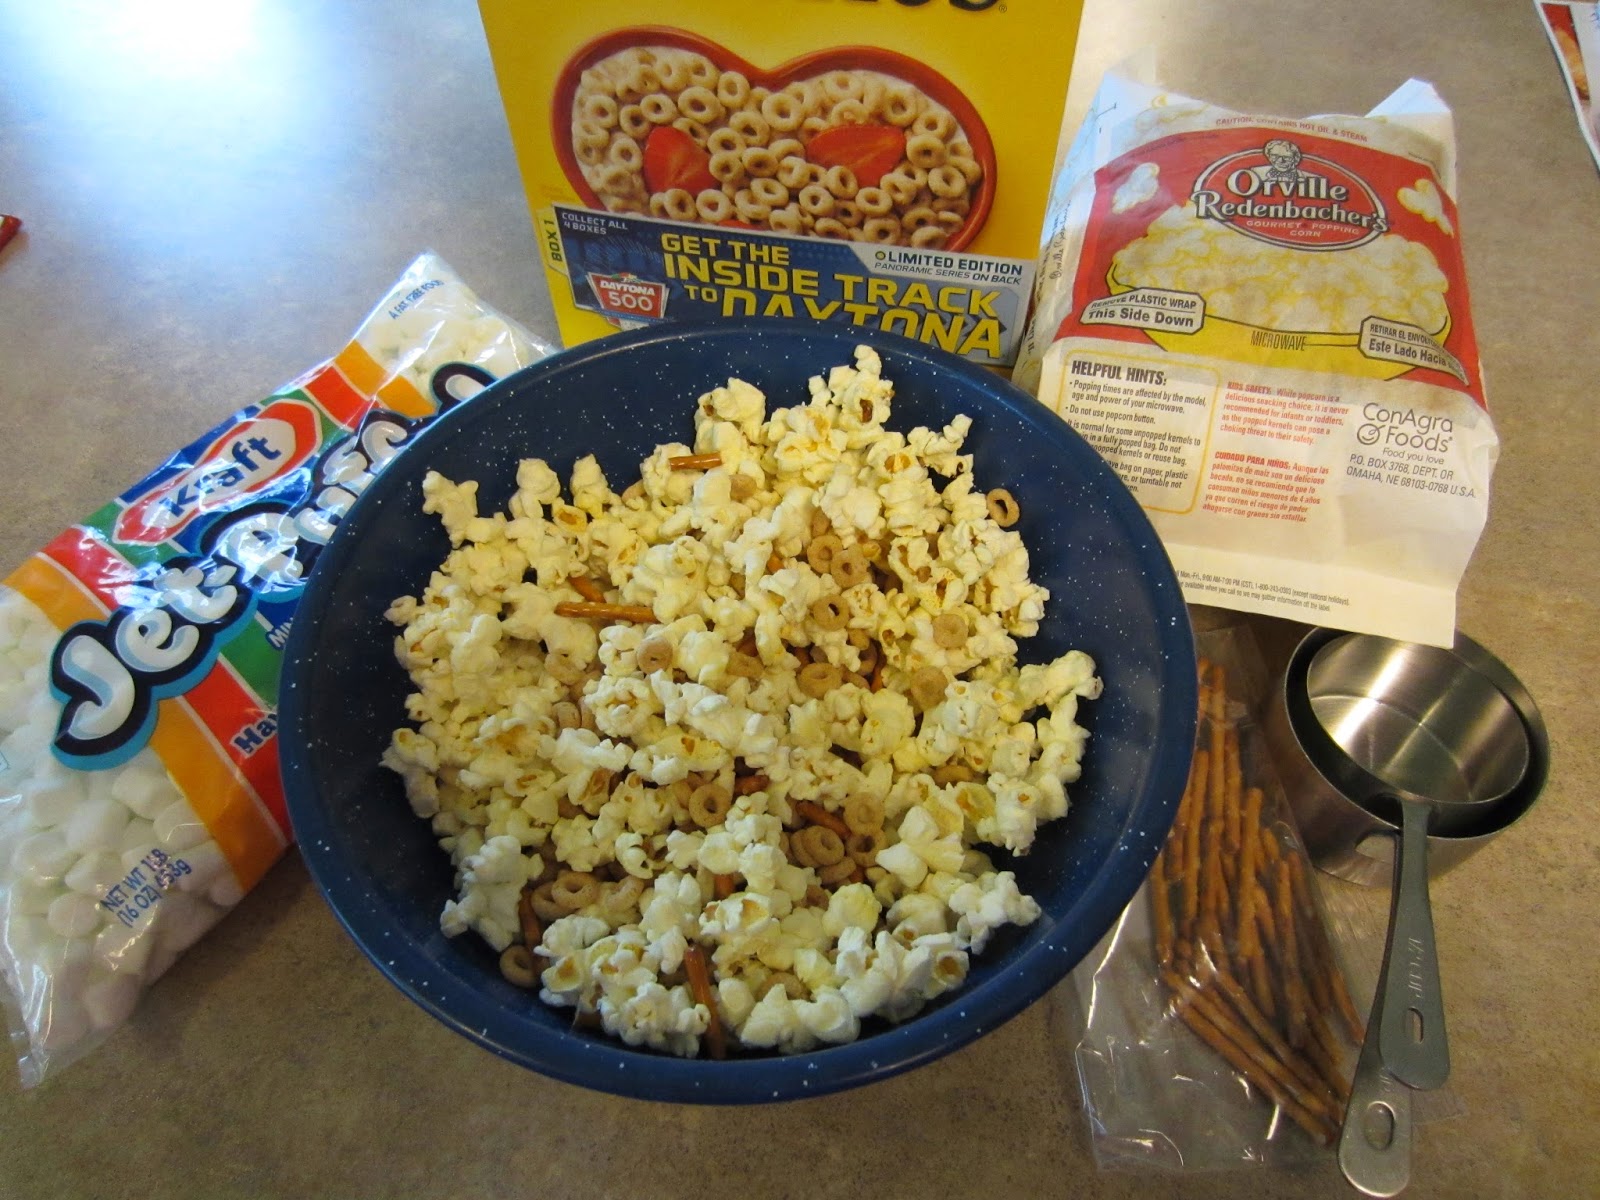
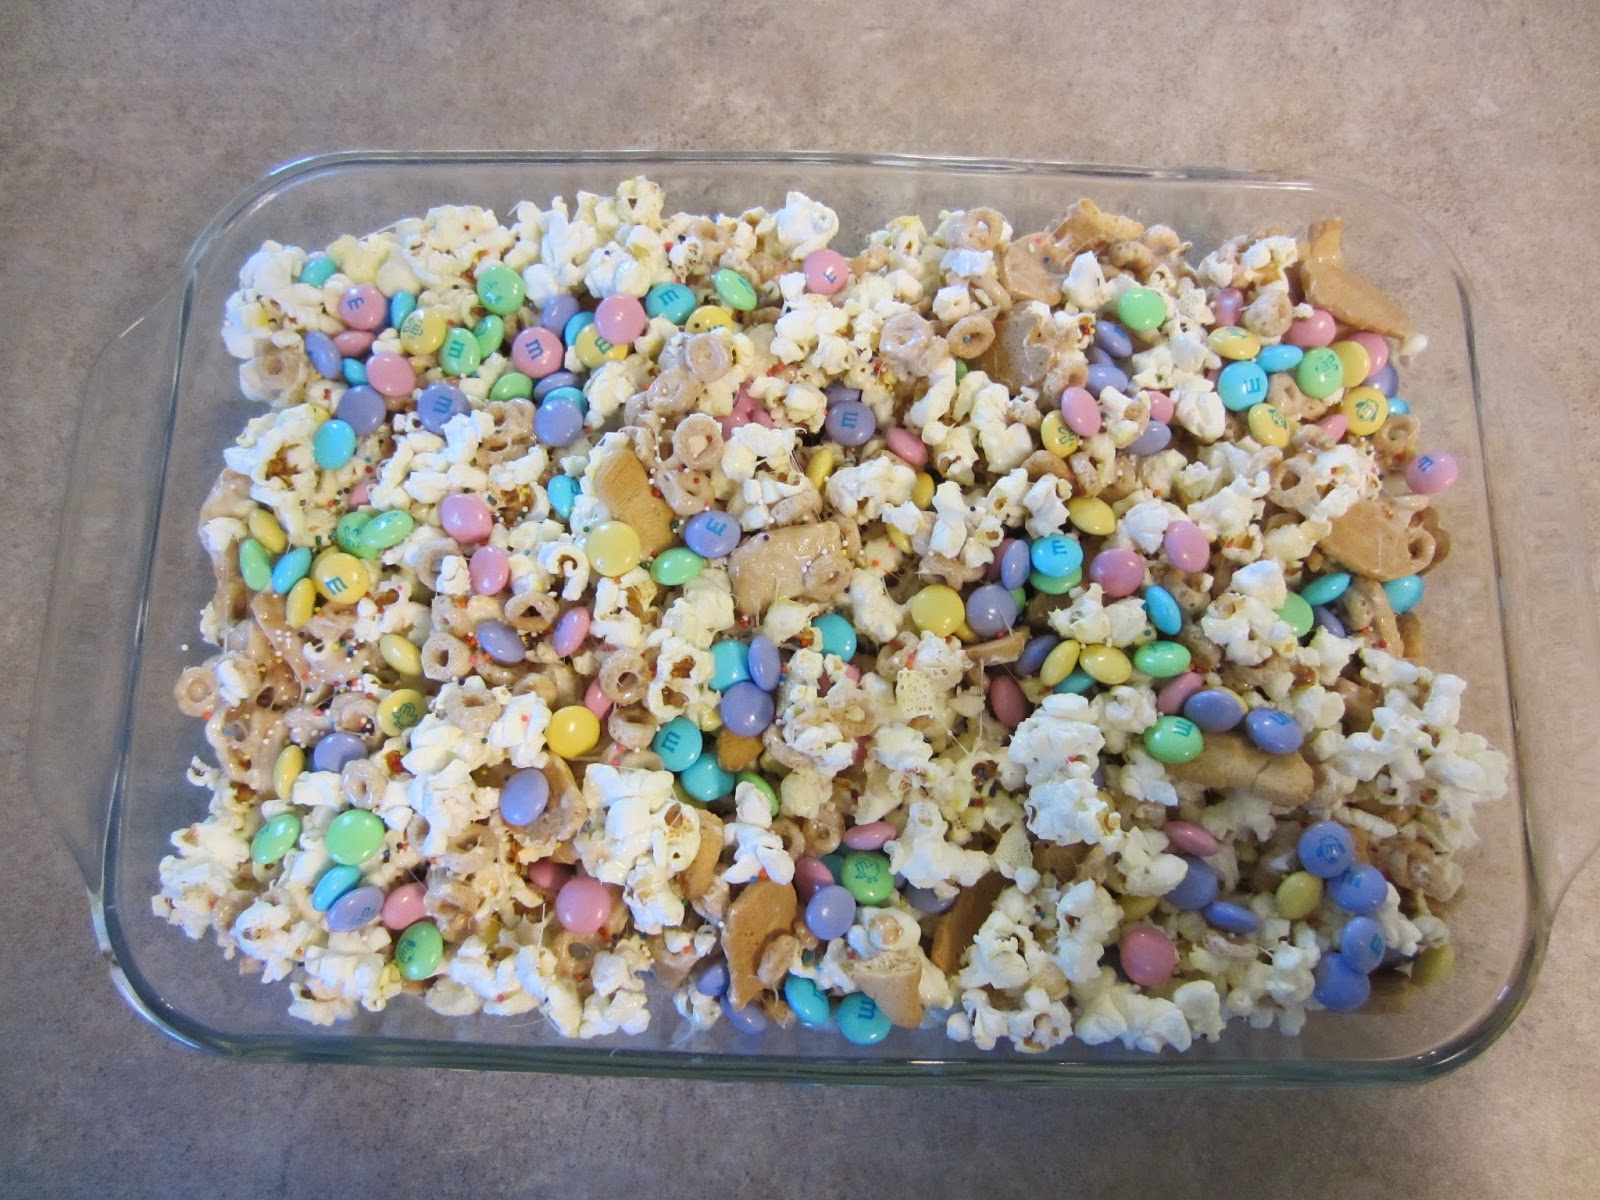
With a sugar rush, they ran out the back door for more fresh air playtime.  Everyone went home with a Pet Treat goodie bag,  a twist on my Popcorn Ball recipe.  It turned out to be a wonderful party! 

Happy 8th Birthday to my sweetest little girl!!  I love you!

Weekend Project - The Best No Knead Jalapeno Cheddar Crusty Bread Recipe

Okay, I have jumped on the band wagon for no knead breads. Seriously, is there anything better in life than fresh warm bread! And with gooey cheddar cheese and spicy jalapeno, I could eat the whole loaf in one setting. There goes my attempt for less gluten this month. Once I saw the recipe for no knead cinnamon raisin crusty bread on Say Yes, I knew I had to to try it. The kids have eaten every day for breakfast this week. It is seriously awesome. However, I wanted to try a spin on the recipe and use up some of the jalapenos we have growing on a plant we brought indoors last fall. SUCCESS!

Thanks to my parent-in-laws birthday gift this month, I am the proud owner of a cast iron casserole otherwise known as Dutch oven.  I am going to use this thing all the time. No knead bread is seriously easy, and if you haven't tried it, you'll wish you had been making bread this way for years. I can't wait to try some whole wheat/healthier versions this week!
 
Recipe for No Knead Jalapeno Cheddar Crusty Bread

3 cups of organic white flour
1 tsp. salt
1 tsp. active dry yeast
1 1/2 cups shredded extra sharp cheddar cheese
3 jalapenos finely chopped (add more or less depending on your spice threshold)
1 cup of lukewarm water
1/2 cup sour cream

Directions: 
1. In a large mixing bowl, mix together all the dry ingredients. 
2.  Add the warm water and sour cream and mix together with a wooden spoon until it forms a shaggy dough.You don't have to knead the bread, just get it all mixed together and leave it alone. Cover the bowl and let it sit in a warm place 12-24 hours.
3. When you are ready to cook the bread the next day, preheat your oven to 450F with the dutch oven in the oven as well, uncovered. 
4. Meanwhile, plop your dough onto a floured peice of wax paper, flour up your hands well, and form the dough into a ball shape. Cover with plastic wrap or a towel, and let sit for 30 minutes while the oven preheats. 
5. Carefully take the oven out, place the dough ball into the center of the dutch oven, cover with the lid and put in the oven for 25 minutes covered. After 25 minutes, take the lid off the dutch oven, and let the bread cook in the oven for another 10 minutes to get that nice crusty finish. 
6. When finished, let the bread cool on a wrack or piece of parchment paper and resist the urge to cut into the loaf for just 10 minutes or so. Slice and enjoy :)


March 20, 2014

Amazing Places - Sardinia, Italy

Happy first day of Spring everyone! It is actually beautifully sunny and warm today, so fitting! I am dreaming about vacations again and where we should go this year. We want to explore new places (like Scandanavia, southern Croatia, Greece or Turkey), but something also keeps calling me back to places we've been. One such place is Sardinia.
Cala Luna in Sardinia, Italy

Sardinia is a climber's paradise. For real. The beaches are gorgeous, the climbing amazing, and the food and sights so refreshing. The island is not very populated (more sheep than Sardinians live there), and the scenery is breathtaking. Frank and I chose Sardinia for our honeymoon way back in 2004. Loved every minute of it. However, did not love the fact that our suitcases were lost, all except for our climbing gear. I had imagined sexy lingere for evenings and fancy dresses for our dinners out. Instead, I wore what I came on the plane in, a pair of jeans and a t-shirt, with target underwear I washed nightly in our bathroom sink. Romantic eh? ;) Didn't matter. We bought swimsuits at the grocery store and lived in those for the week. (Prepare yourself for a lot of photos, we couldn't take enough of this place).

Amazing yacht in the bay of Cala Gonone.  Turned out it was Paul Allen's yacht, co-founder of Microsoft.  Yes, that is a helicopter on the back. It is the 9th largest yacht in the world.

See the face? Cala Goloritz


Grotta del Bue Marino, the cave goes back 15km!


Frank bouldering the granite in Capo Testa

Jumping around Cala Fuili climbing crags

Balcony views of Cala Gonone

We decided to spend our whole week in Cala Gonone, a very small village located on the east coast of the island, about 2.5 hours from Alghero and 3 hours north of Cagliari. You can fly into either airport super cheap on Ryan Air or Air Berlin from Europe. The reason we picked Cala Gonone was for the spectacular sport climbing located by the town, and for the famous beaches of Cala Luna and Cala Galoritz, both which are only reachable by boat! We rented the one in the above photo for a day and had the time of our lives checking out each bay. Just gorgeous, and so much fun.

In 2006, we decided we needed a return visit, and this time we went with my parents, and added in a tour of all the famous sights and cities of the northern part of Sardinia. Castelsardo was definitely worth a visit, as is Alghero. Each night we stayed in a different hotel, and at one point, an Agriturismo. I'm happy to share if you are planning a trip. Just contact me (you'll find my e-mail here). Plenty of activities for out door enthusiasts, perhaps just lacking a little in the way of museums/large cities for those looking for more of a city trip. I'd highly recommend the island to anyone looking for a great beach destination in the Mediterranean.

A typical scene on the roads of Sardinia.

Farmers Market


Cool murals and spray painted walls in the tiny town of Orgosolo

Castelsardo

Seeing these pictures makes me pretty sure a return visit is a must!