April 15, 2014

Hand-Painted Easter Egg Ornaments

Many years ago a friend from Germany taught me her family tradition of hand-painting Easter egg ornaments.  My first egg was very basic but over the years have added more details to my eggs.  The sky is pretty much the limit with these eggs.  You can be as creative & imaginative or as understated as you desire.  I have several plain but sparkly eggs that were made by coating an egg painted in a single color with Mod Podge and then rolling it in glitter.  I have a 3-D egg that I hot glued tiny rosettes then hand-painted leaves.  For a couple of years I was very creative and based my artwork some of my favorite famous paintings, Van Gogh's Starry Night and Monet's Water Lilies.  I made an egg for each of my kids when they were born with their names and birth dates.  The egg pictured above was inspired by our trip to Riva del Garda, Italy.
DIY Hand-painted Easter Egg Ornaments

1. I like to gently wash my eggs first in mild soapy water to clean the exterior and allow the egg to dry.  If you have clean eggs and clean tools, you can eat the contents of the eggs after blowing them out.  Egg yolks and whites can be safely saved for 2 days in the refrigerator.

2. Next, gently but securely hold the egg in the palm of your hand and poke a small hole in the top & bottom of the egg using a straight pin.  It is helpful if you twist the pin a little rather than forcefully poking it through. Then enlarge the hole with a very small drill bit twisted by hand into the hole
or by slightly 'chipping' away around the hole.

3. Take a paperclip and unfold it.  Poke this into one of the holes and gently scramble the contents so it will come our easier.

4. Now you want to blow out the contents into a clean bowl.  I originally just blew with my mouth over the hole and the contents came out the other end.  I have also tried using an infant bulb syringe places over the top hole to 'blow' air into the egg and the contents out.  Both methods work fine.  It depends on if you are squeamish about eggs or if you have a bulb syringe. 

5. After all the contents are out, I like to run a little warm tap water into the egg, swish it around and blow it out to remove anything that might stink later.
6. Once the egg is completely dry you are ready for painting.  I use basic craft store acrylic paint and a variety of width paint brushes.  You will also need a chopstick for drying the egg.  Before you paint, very gently insert the chopstick into one end of your egg.  Set the chopstick in a tall glass to hold the egg upright during drying.  I keep the chopstick in the egg the entire time to help hold the egg and not smear the paint. 
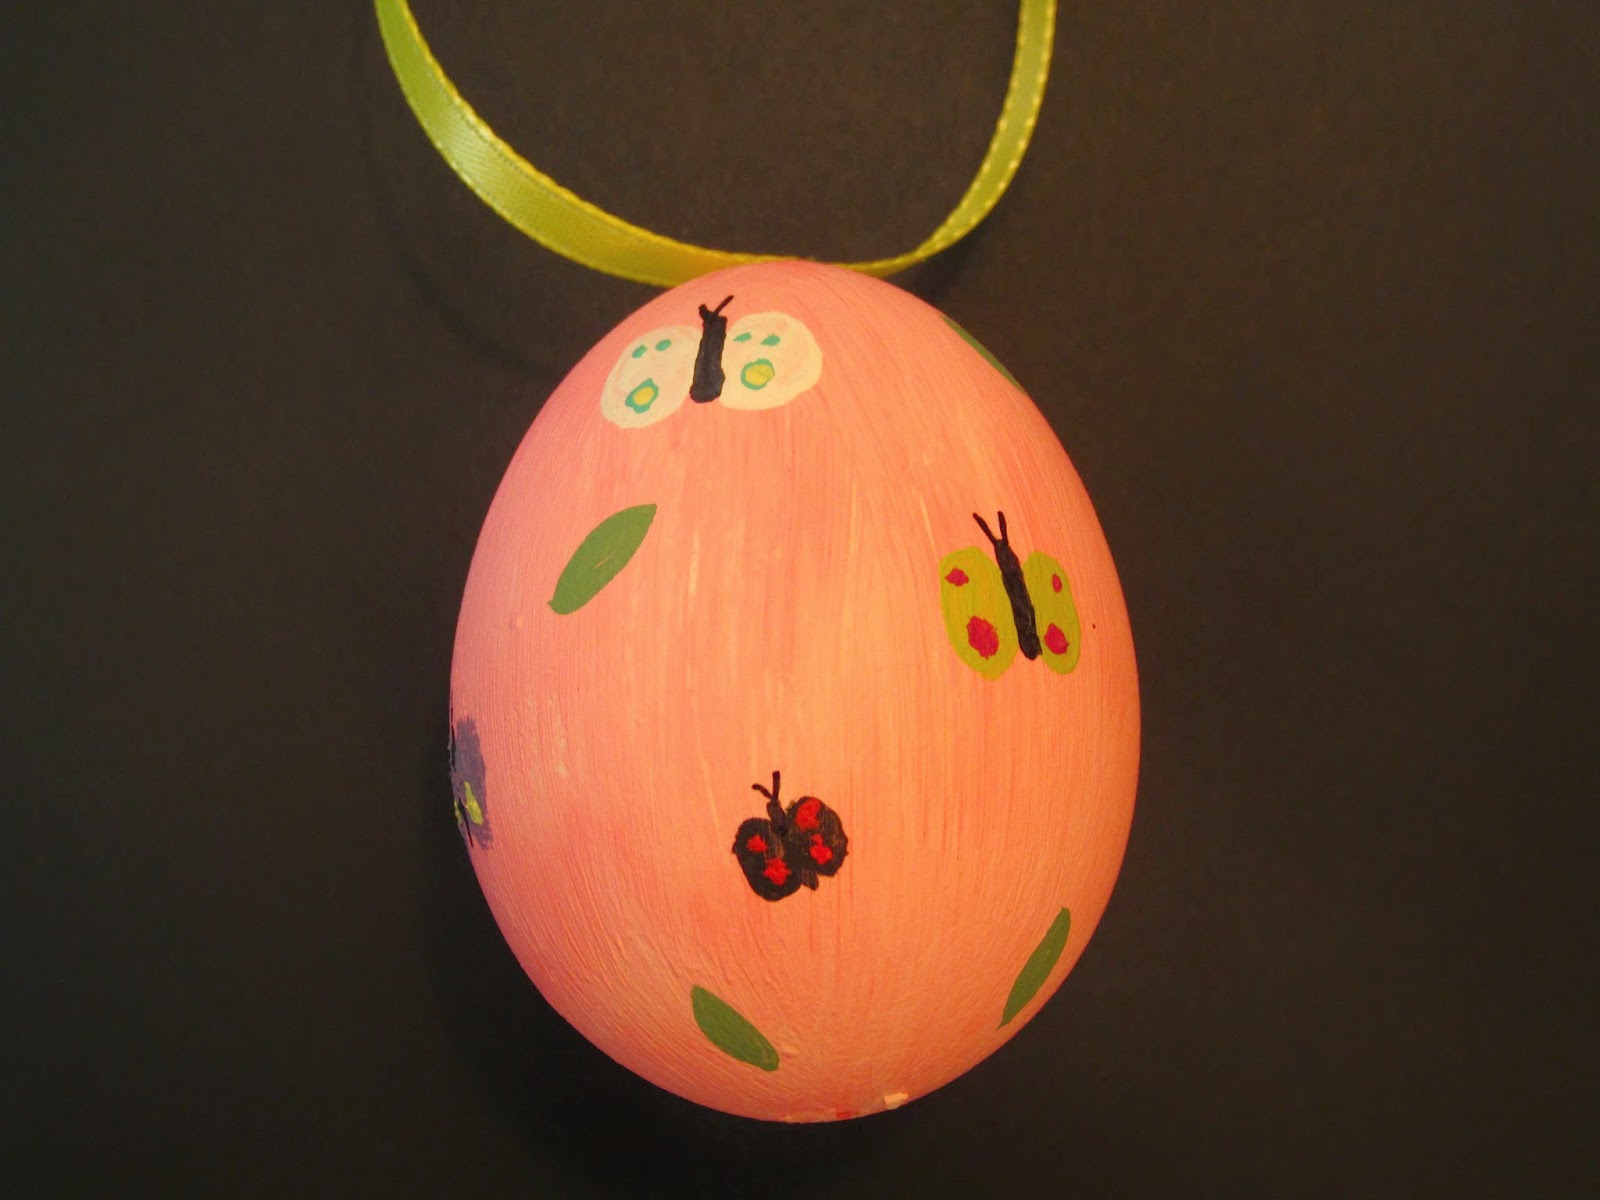
Depending on the picture you are creating, you may need to allow the egg to dry in between colors.  For instance in the egg pictured below, I painted the background, allowed the paint to dry then added the butterflies.
7. After the paint is dry you can add a ribbon at the top for hanging.  I have done this several ways.  You can use hot glue to attach a length of ribbon.  I have added pearl top pins or tiny rosettes over the ribbon, also using hot glue.  This is especially useful if you have a large hole to cover.  Oops!  The last way, is to run a length of thin silk ribbon through the egg with a long needle, knotting it at the top and bottom.


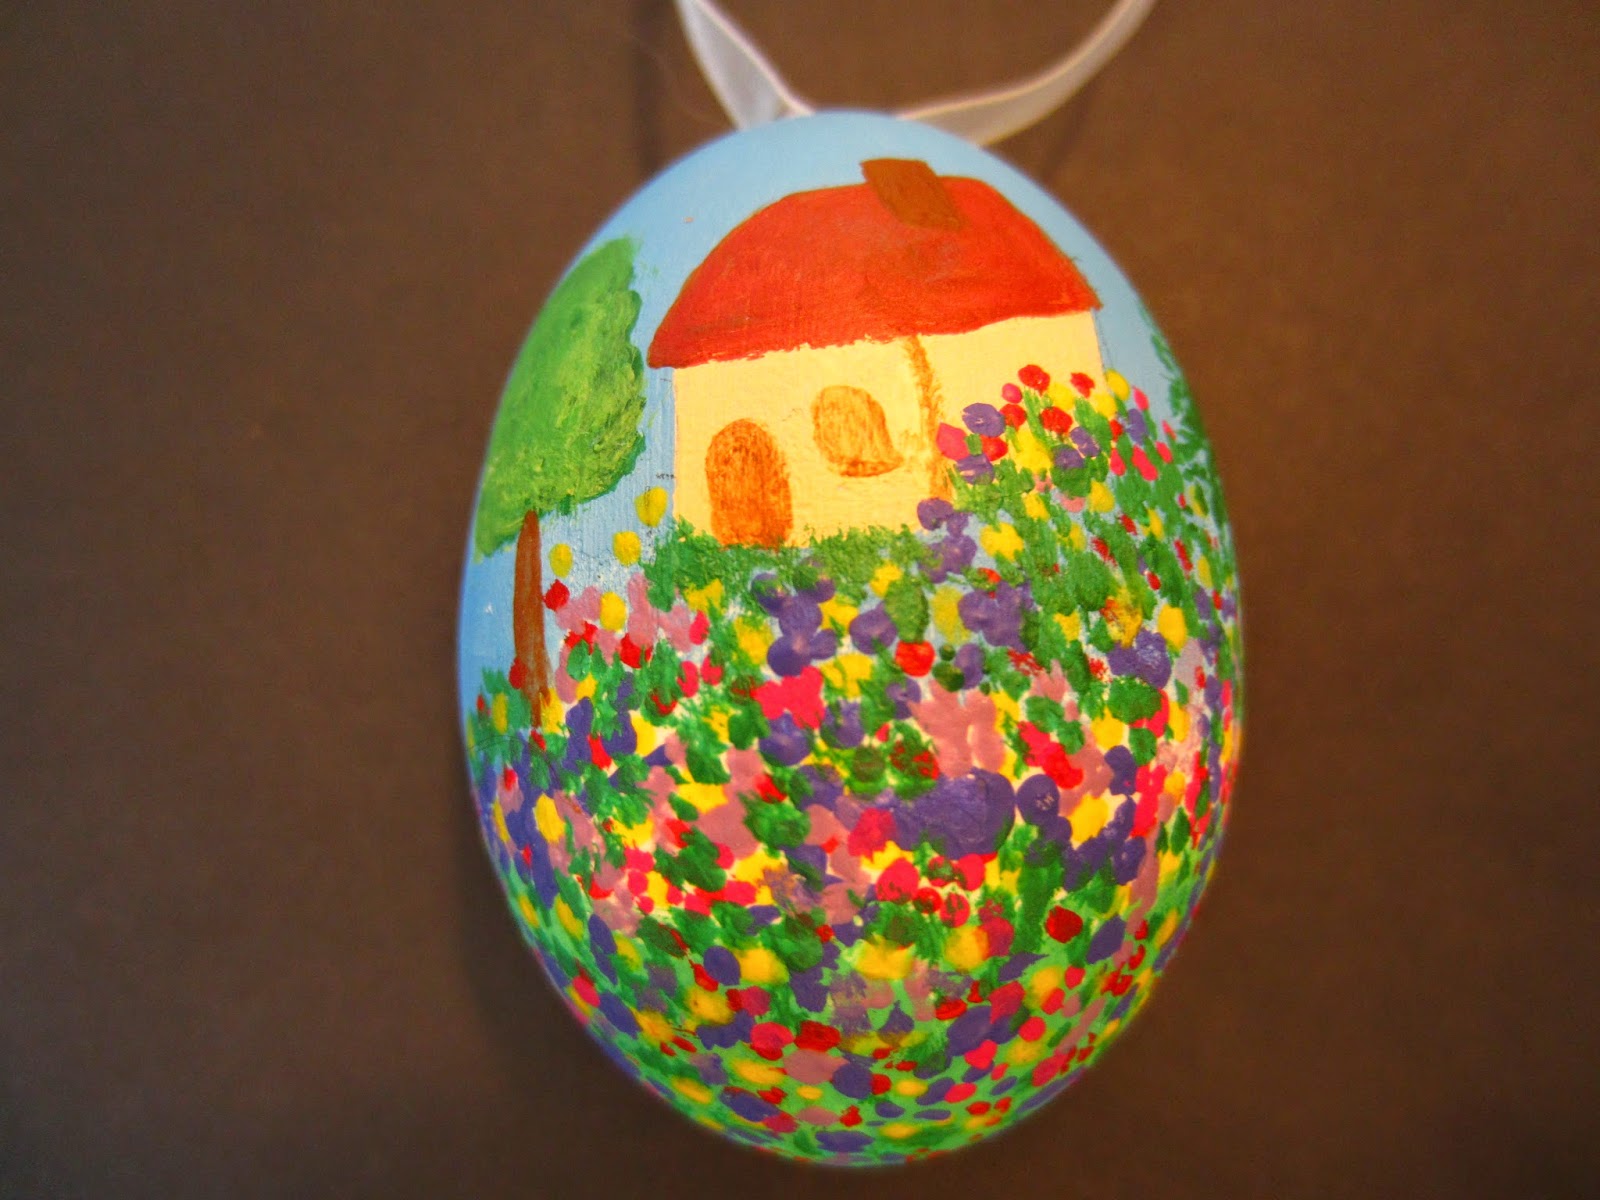
The best way to store the eggs is in an egg carton, Styrofoam or paperboard.  The lids on mine don't close because of the pins on the top of some of my eggs, so I use a rubber band to secure the lid down.  Even with these precautions, I have broken two eggs;  two of my favorites, Starry Night & my daughter's birthday egg.  I haven't gotten around to replacing them yet.  Maybe this is the year!  A friend also gave me an extra large duck egg (it was abandoned) that was beautiful just by itself.  Keep in mind how you will store the extra large eggs if you choose this route.
I couldn't resist these adorable hand-carved wooden bunnies from the market in Garmisch, Germany on our last trip.  They make the perfect accent to my Easter Egg tree.  I usually display the eggs on a couple of bare branches that I stick in a mason jar filled with interesting pebbles.  I tie a pretty pastel ribbon around the top of the jar and Voila!


No comments:

Post a Comment

We would love to hear from you!